Transcript:
This guide will show you how to set up additional branches. If your business only has one branch, you may skip this tutorial. First of all, let’s click on Branches in the side menu to go to the Branch Setup section. Then, click on New Branch in the top right. In the popup that appears, enter as much information about the branch as you have.
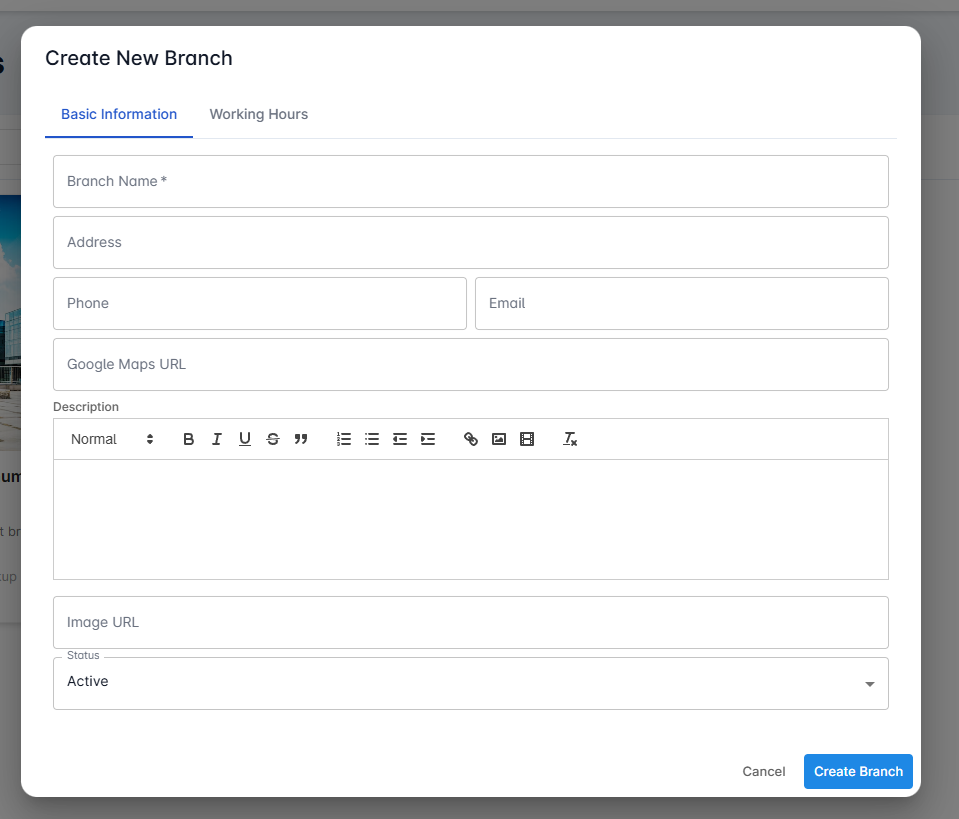
Let’s start by giving it a name. Enter the Branch, Address, your phone number, an email. You can also enter a Map URL into this field. This will be shown to your customers when they make a booking later and select a branch, so they can check the location beforehand. The Description field is optional. You may enter any short description here that you want your customers to see when selecting a branch. You can add an image for the branch by adding an image URL here.
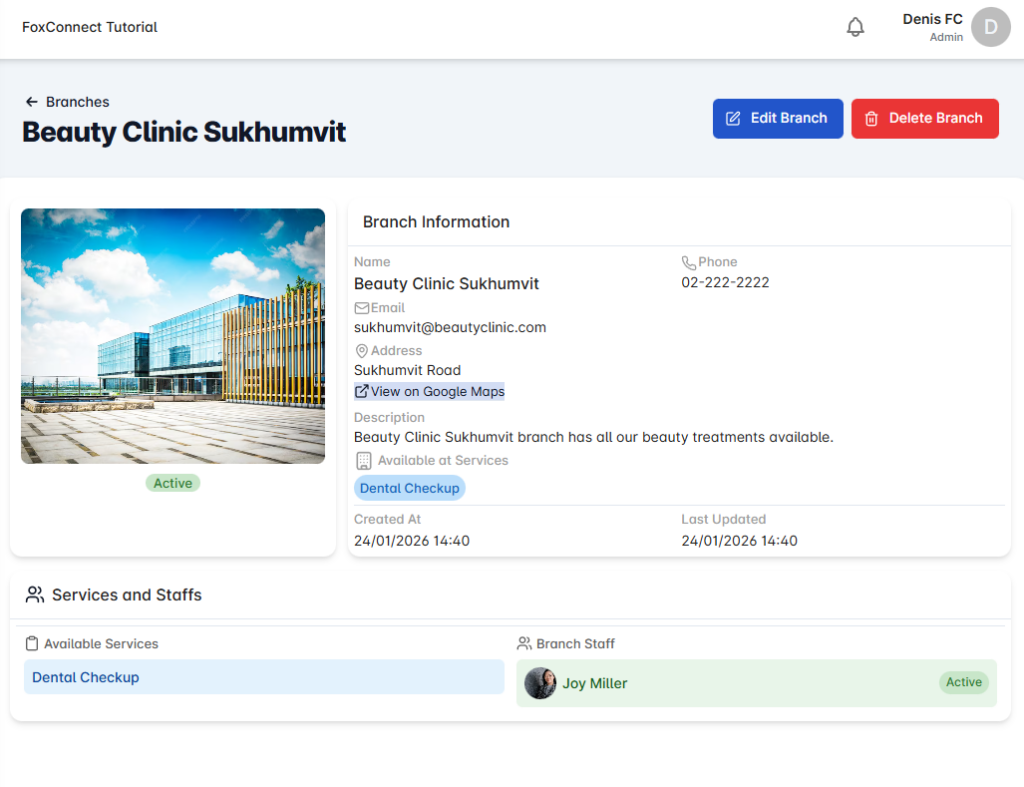
Before creating the branch, don’t forget to set the opening hours for this branch. You can turn on or off any weekdays as you wish, and set the correct opening hours as well as break times. When this is done, now you can click on Create Branch. Your Branch will now show up here and will be available as an option for adding staff and services.
Related Tutorials